Frequently Asked Questions
All of our helmets and masks are made to order according to head size. It takes anywhere from 1 – 2 weeks to complete. If processing time will exceed 2 weeks, we will notify you.
We are shipping out of the US. Shipping takes 1-4 days for anywhere in the continental US. International shipping can take anywhere from 1 week to a month depending on the country’s customs policies.
- We use head circumference to size our helmets and masks.
- Wrap a flexible measuring tape (or a string) around your head just above the eyebrows and ears, and around the back where your head slopes up prominently from the neck. The goal is to measure the head at the spot where it has the largest circumference. If you used a string, measure the string in the spot you marked with a ruler or measuring tape.
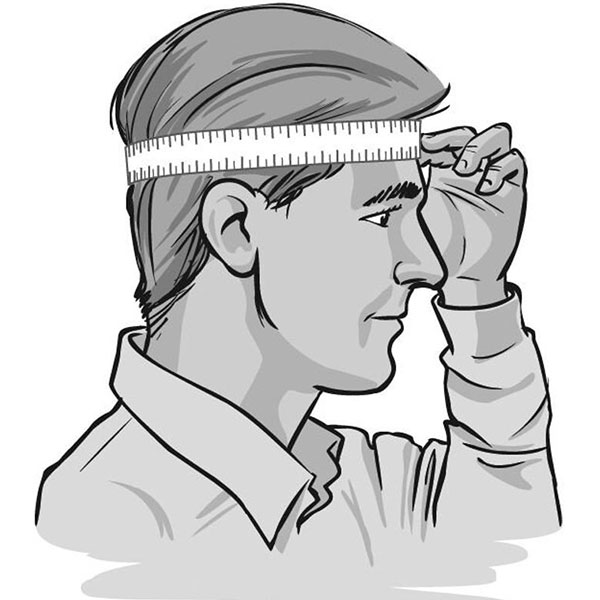
- If you are between sizes (for example, you measured 23.25 inches), always around up. In this case, you would order a size 24 inch.
- There is no need to scale up for padding. Our helmets and masks are sized to include padding. We always recommend ordering the size you measured.
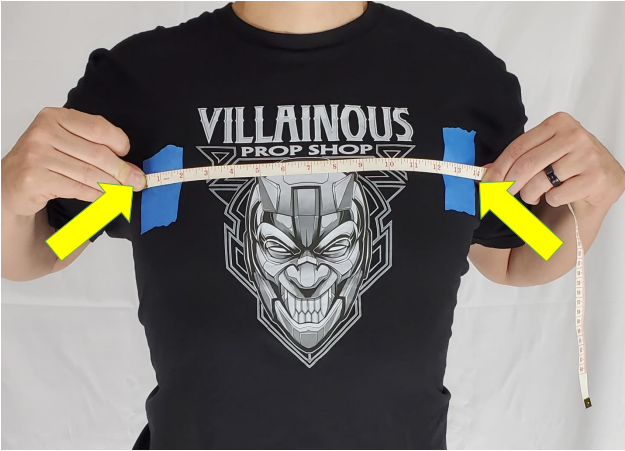
- Measuring the width of your chest.
- When measuring the width of your chest, we use the widest front facing part of your chest in our scaling. As seen in the reference picture below, we are not wrapping the tape around the chest and under the armpit, but approximately 2-3 inches below the armpit at the chest's widest point. This is where the widest part of the chest plate would sit.
- Measuring for length.
- Scaling for the length of your armor. Start between the collarbones at the center of your body and measure straight vertically down to your belly button; without accounting for the body’s curvatures. The armor lays flat, and not around.

-
Attaching your Horns to the Head Band.
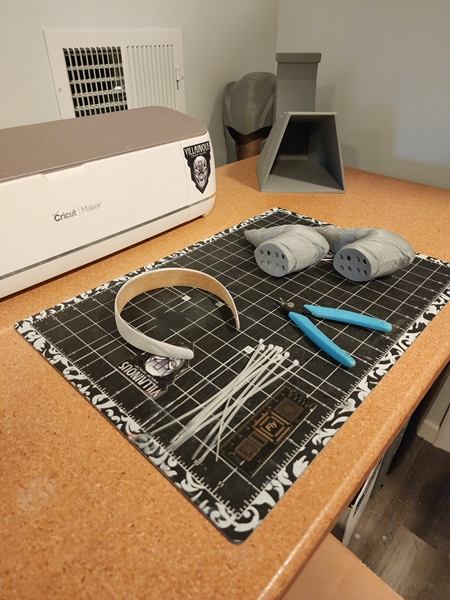
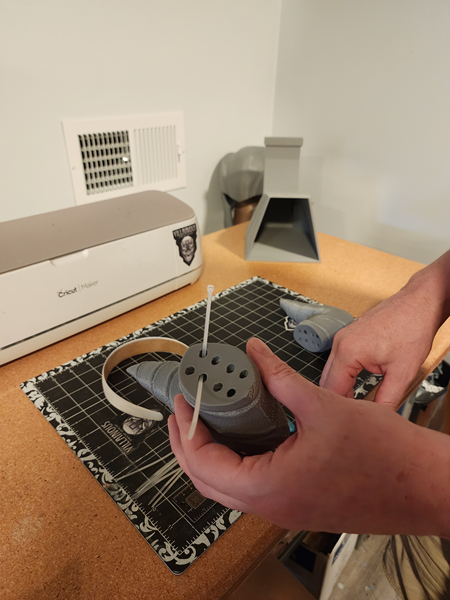
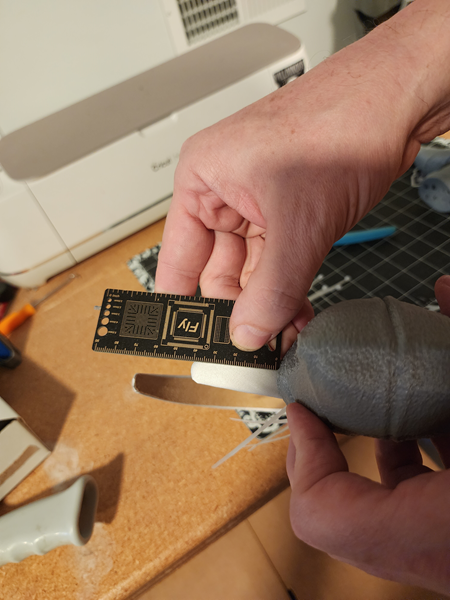
- You will need the following items to attach your horns to the headband: 1. Headband 2. Horns 3. Zip ties 4. Ruler 5. Scissors or clippers
- Feed the zip tie diagonally through the holes. Tip: Have the locking tabs on the side of the horn that faces forward when feeding the zip tie. This will allow you to tighten the zip tie from the back of the horns.
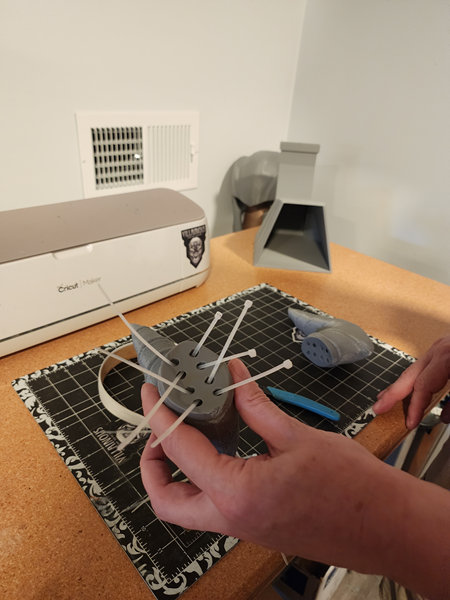
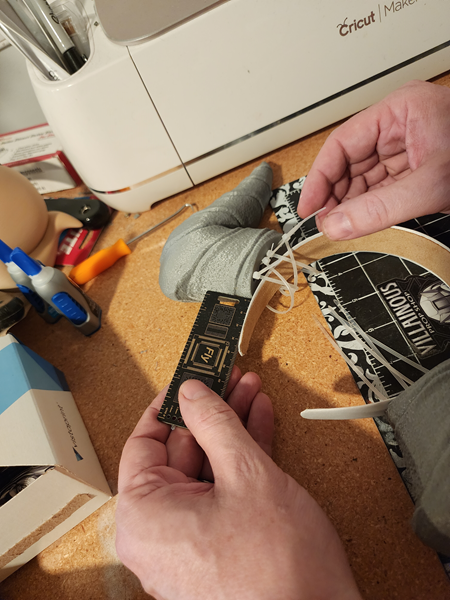
- After feeding all the zip ties, it should look something like the picture below. You may have fewer holes to pull zip ties through, depending on which horns you have.
- Now make a loop with all your zip ties. Make sure the locking tab is now on the back side of the horns. Do not tighten the zip ties too much yet.
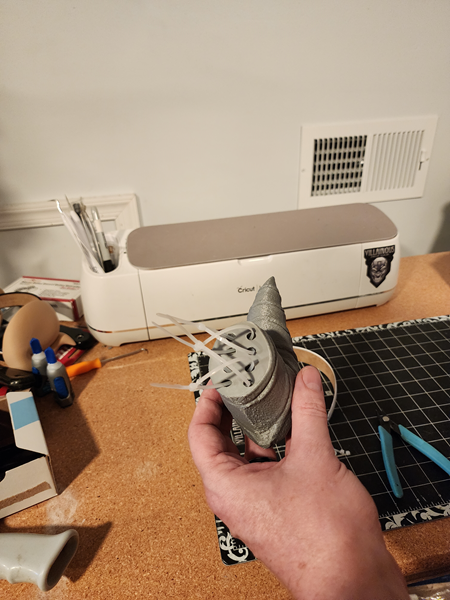
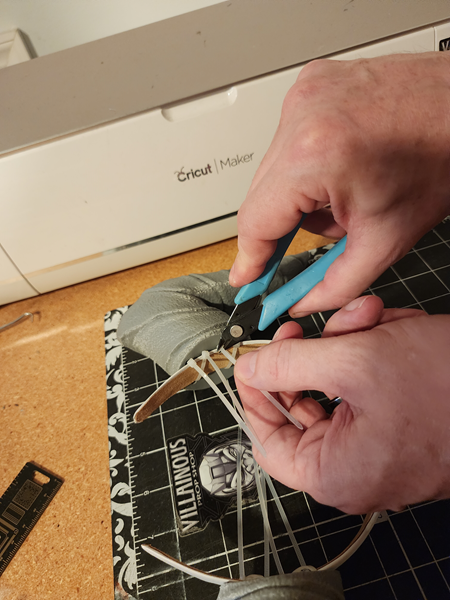
- Slide the headband through the loops to position the horns where you want them on your head.
- When the horns are in the correct position, tighten the zip ties to keep the horns from moving. Now repeat the threading and looping of the zip ties on the other horn. Do not tighten the zip ties yet.
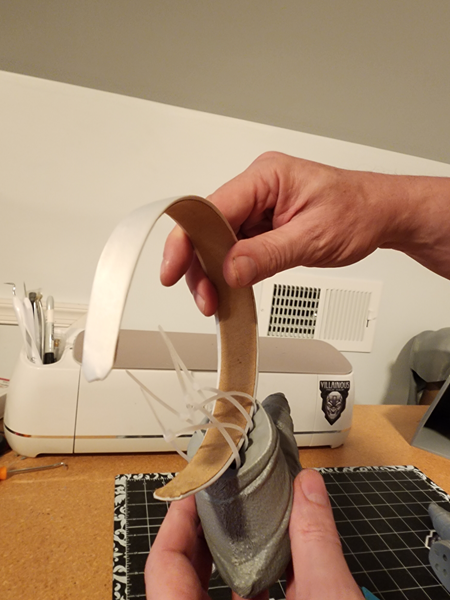
- Go back to the horns that have already been secured tightly and measure the distance from the tip of the headband to the bottom of the horn. Use this distance as a reference when attaching the other horn on the opposite side.
- Slide the headband through the loops to match the measured distance using the ruler. Tighten the zip ties.
- Once all the zip ties are in place and tightened, cut off the excess zip tie.
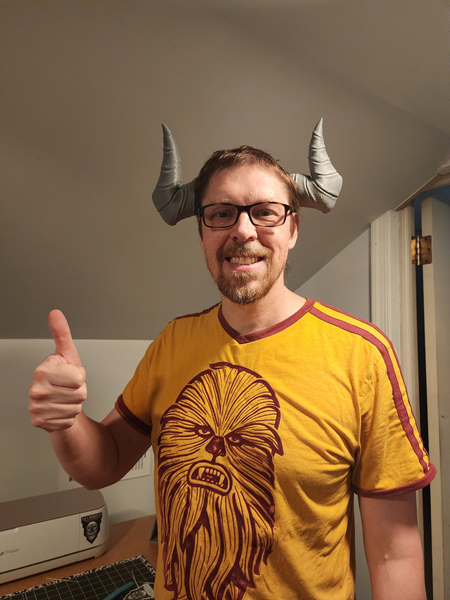
- Now they are ready to wear!

- Yes, however slots are limited and fill up quickly. We take orders on a first come first served basis. We can also modify our made-to-order helmets and masks. Please contact us to inquire about custom slots or to receive a quote.
Our products are made of Polylactic acid, or polylactide (PLA), - a thermoplastic, aliphatic polyester, produced from non-toxic renewable feedstock, naturally occurring organic acid, or made by fermentation of sugars obtained from renewable resources such as sugarcane. PLA has a melting temperature of 157 - 170 °C (315 - 338 °F).
We mostly use eSUN Silver PLA+ Filament - 1.75mm. Click here
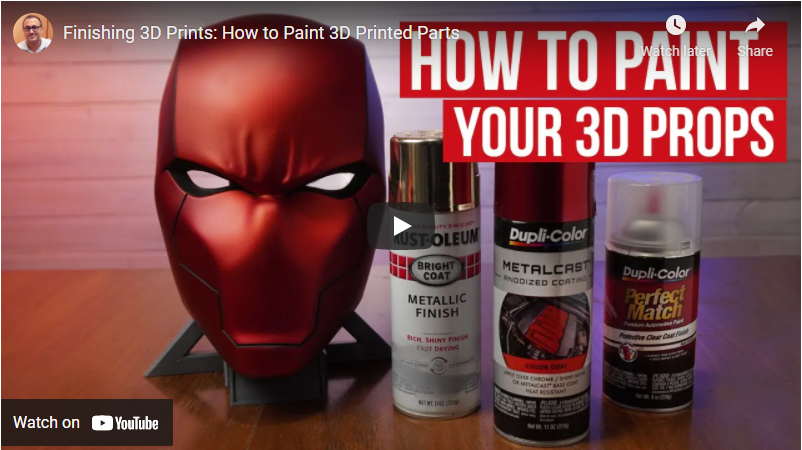
- Once your helmet or mask is sanded and primed, most types of paint can be used. Many of our customers use acrylic spray paint.
- See the "How-To Guides" below for a video on how to paint your helmet or mask.
- Lenses can be made from cheap sunglasses.
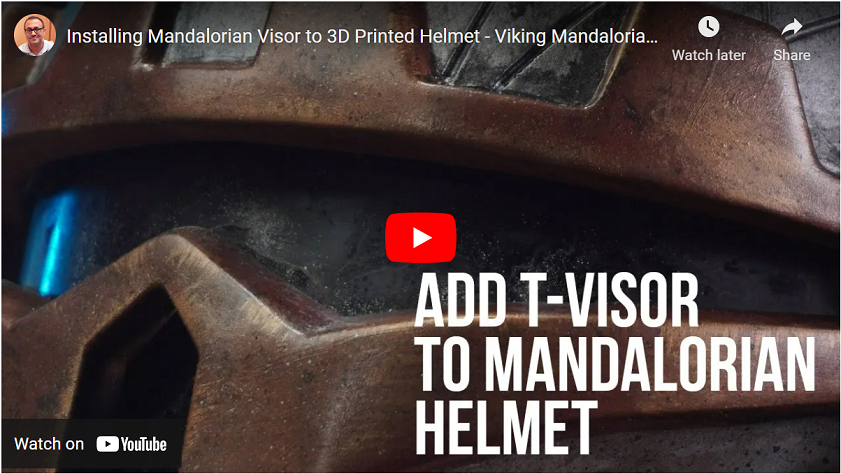
- Visors can be made from face shield replacements. They can be found on Amazon or welding supply shop.
- See our "How to" video below for more information.
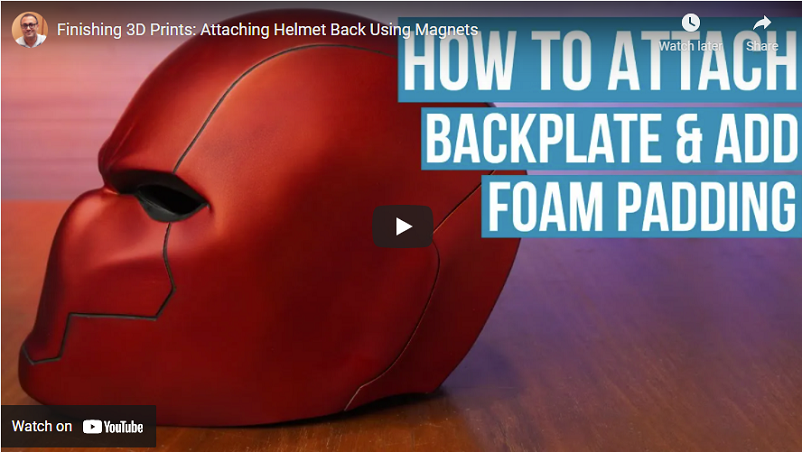
Replacement bike helmet pads or replacement furniture padding can be used. Furniture padding can be found at a fabric shop. See our "How to" video below for more information.
We use Creality3D K1 Max 3D printers. Click here
We also have multi-color 3D printers like the Bambu Lab P1S. Click here
Return & Exchange Policy
We accept returns and exchanges within 30 days of delivery.
- Return shipping: Buyers are responsible for return shipping costs.
- Condition: Items must be returned in their original condition. Any damage or wear may result in a deduction from your refund.
- Digital files: Digital download files are non-returnable and non-exchangeable.
Questions? Contact us at villainouspropshopsales@gmail.com
How-To Guides
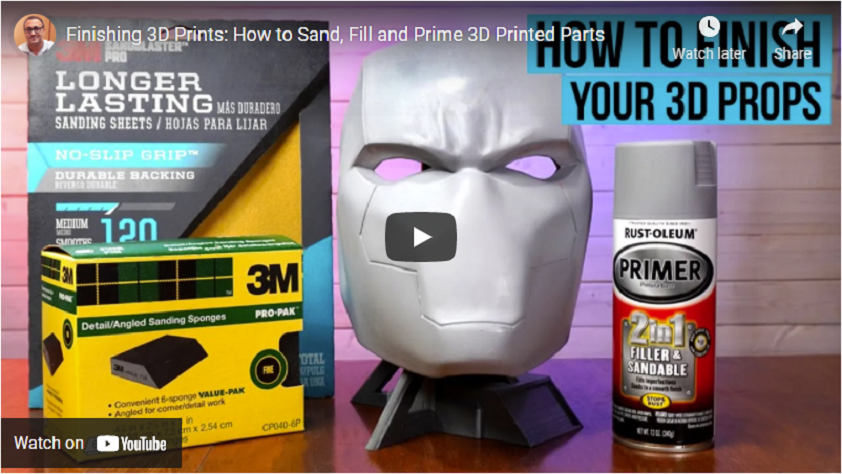
Check out this video on how to prime and sand a 3D print :
Check out this video on how to paint a primed 3D print :
Check out this video on how to attach a back panel and add padding:
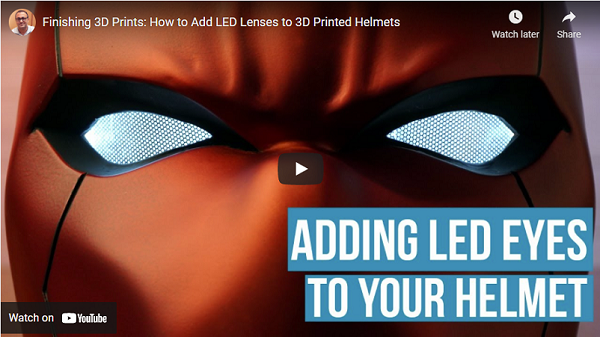
Check out this video on how to add LED lenses to 3D printed helmets:
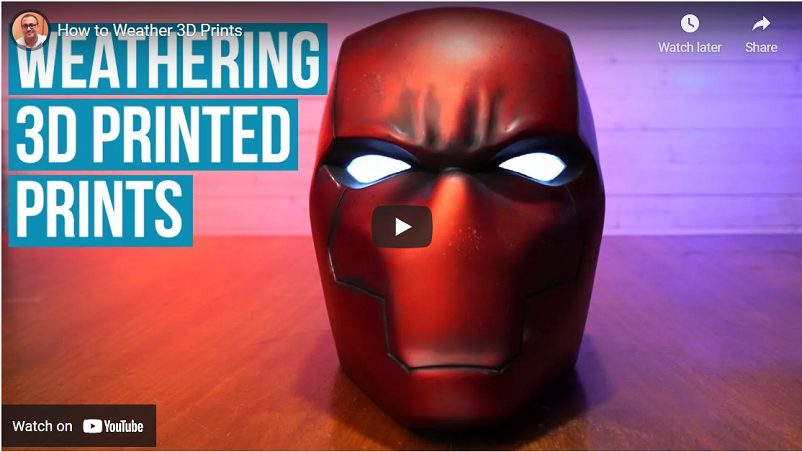
Check out this video on how to weather 3D printed helmets:
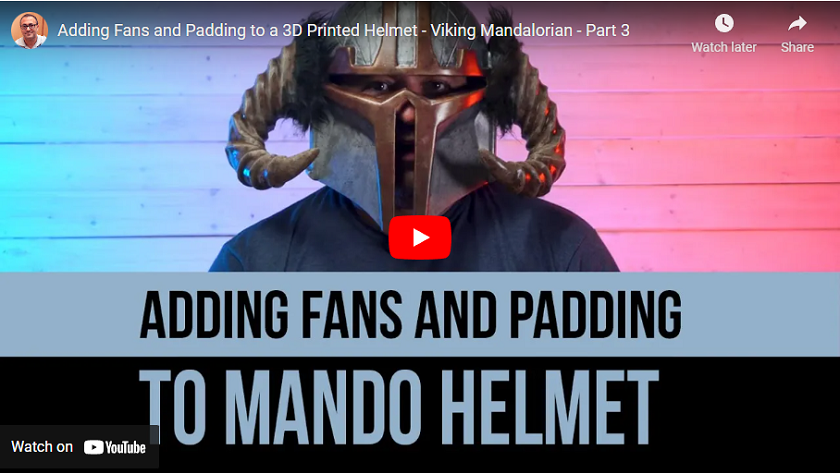
Check out this video on how to add fans and padding to 3D printed helmets:
Check out this video on how to add a visor to 3D printed helmets: